Are you searching for a healthy, gluten-free alternative to traditional tortillas that's both easy to prepare and incredibly versatile? Look no further than collard wraps! These leafy greens provide the perfect low-carb canvas for a myriad of delicious fillings, making them an ideal choice for easy Mediterranean collard wraps or any other culinary creation you envision. While they might appear daunting at first glance, mastering a few simple preparation techniques, particularly blanching and proper storage, will transform them into a weekly staple for nutritious, on-the-go meals.
Say goodbye to flimsy flour tortillas or complicated grain-free recipes. Collard leaves are robust, nutritious, and surprisingly easy to work with once you know the secrets to making them pliable and tender. This guide will walk you through the essential steps to prepare and store your collard wraps, ensuring every bite is as delicious and satisfying as it is healthy.
The Magic of Collard Greens: More Than Just a Leaf
Collard greens, often found in the produce section near cabbage or romaine lettuce, are a member of the cruciferous vegetable family, celebrated for their impressive nutritional profile. These large, vibrant green leaves are packed with vitamins K, A, and C, as well as fiber and essential minerals, making them a powerhouse ingredient for any diet. Their sturdy nature makes them an excellent, naturally gluten-free and low-carb alternative to bread, tortillas, or even rice paper.
While collard greens might look a bit rustic, perhaps even "prehistoric" with their prominent veins, their size and natural pliability (once properly prepared) make them perfect for snugly holding your favorite fillings. They are typically in season during cooler months, from fall to spring, meaning you can often find them fresh and abundant in your local grocery store. Embracing collard greens in your meal prep not only boosts your nutrient intake but also introduces a wonderfully fresh, slightly earthy flavor to your wraps that complements a wide array of ingredients, especially those found in easy Mediterranean collard wraps.
Mastering Collard Prep: The Blanching Advantage
While some recipes might suggest using raw collard leaves for wraps, a brief blanching process is a game-changer. This simple step makes the leaves significantly more tender, flexible, and easier to roll without tearing. It also mellows their natural bitterness, resulting in a more enjoyable texture and flavor for your wraps.
Step-by-Step Blanching for Perfect Wraps:
- Select Your Leaves: Choose large, fresh collard greens with vibrant color and no significant blemishes. The bigger the leaf, the easier it will be to wrap.
- Prepare for Boiling: Bring a large pot of water to a rolling boil. While you wait, prepare your leaves.
- Trim the Stem: This is arguably the most crucial step for easy rolling. Place a collard leaf on a cutting board with the large, prominent stem and veins facing up. Using a sharp knife, carefully shave down the thickest part of the stem so it is flush with the rest of the leaf. Be gentle to avoid cutting through the leaf itself. This technique significantly enhances flexibility and prevents the wrap from being bulky in the middle.
- Blanch Briefly: Once the water is boiling, carefully immerse one collard leaf into the water using tongs. Let it blanch for just 30 seconds. You'll notice the leaf's color brightens, and it becomes noticeably softer and more pliable. Do not over-blanch, as this can make them too soft and difficult to handle.
- Cool and Dry: Immediately remove the blanched leaf from the boiling water with tongs and place it on a clean kitchen towel to dry. Gently pat both sides dry to remove excess moisture. Repeat this process with as many collard leaves as you plan to use for your wraps. Having perfectly prepped leaves ready will make your week's meal prep a breeze!
Once blanched and dried, these leaves are ready for filling, or they can be stored for future use, making them an excellent foundation for any healthy meal plan.
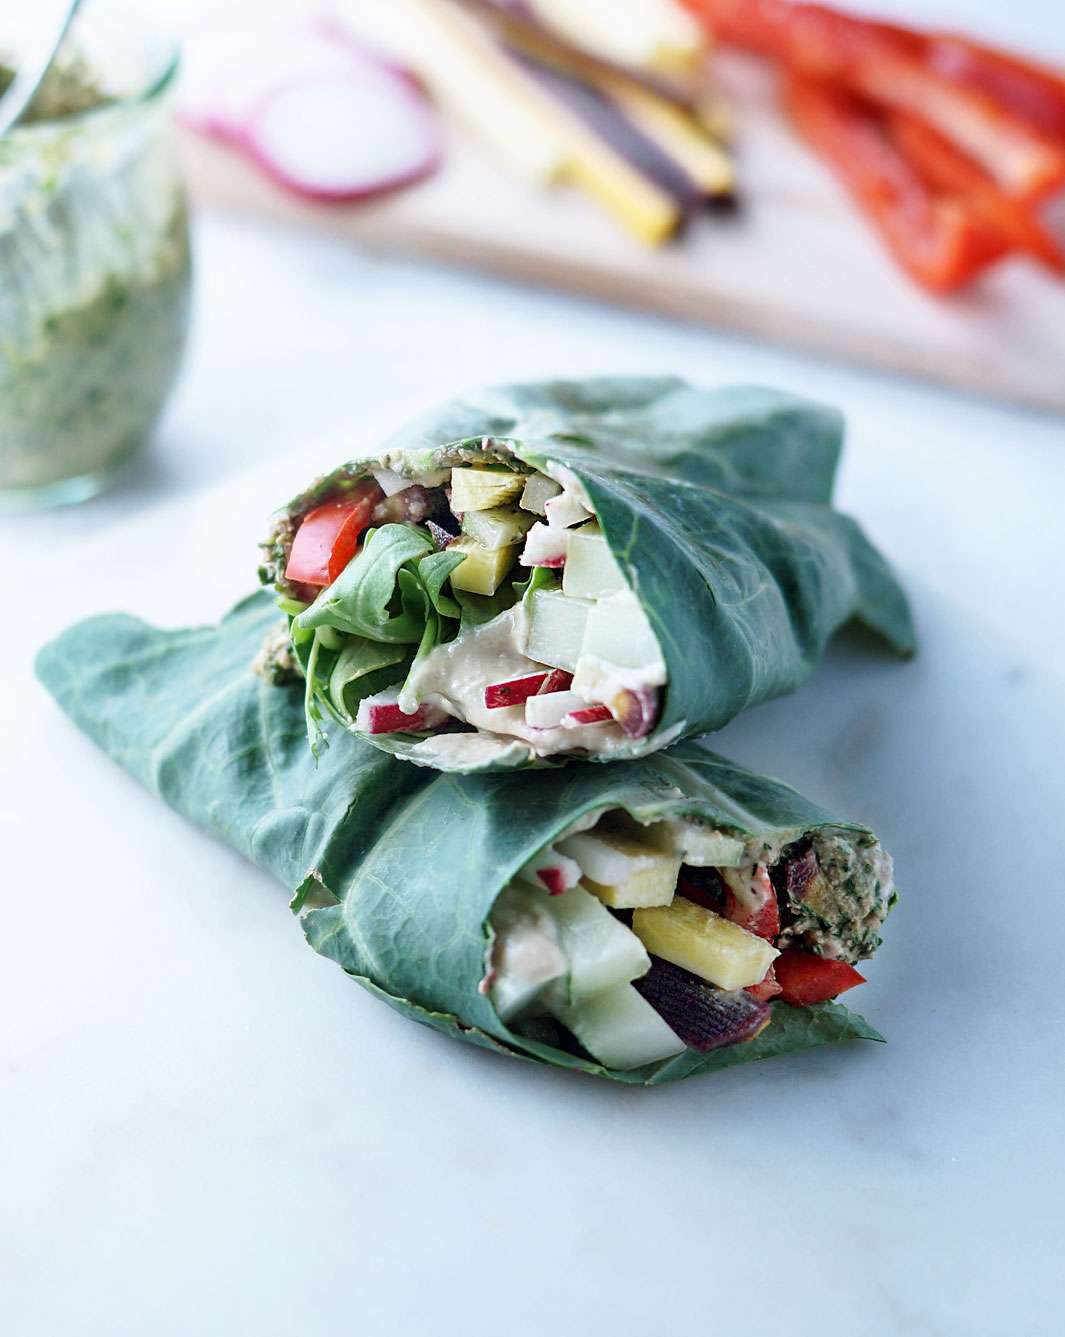
Crafting Your Perfect Easy Mediterranean Collard Wraps: Filling & Rolling
With your collard leaves perfectly prepped, the fun part begins: customizing your fillings! The beauty of easy Mediterranean collard wraps lies in their adaptability. You can use virtually any combination of ingredients you love, but aiming for a balance of textures and flavors will yield the most satisfying results.
Tips for Delicious Fillings:
- The Foundation: Start with a thick, creamy spread like hummus, baba ghanoush, or pesto. These not only add incredible flavor and moisture but also act as a "glue" to help hold other ingredients in place, especially if you're making wraps ahead of time.
- Protein Power: Add a layer of sliced turkey, grilled chicken, crumbled feta cheese, chickpeas, or a savory lentil salad for sustained energy.
- Vibrant Veggies: Incorporate a mix of raw and cooked vegetables for varied textures. Think thinly shredded carrots, finely diced cucumber, vibrant bell peppers, juicy sliced tomatoes, and zesty red onion. Pre-roasted vegetables like bell peppers, zucchini, or eggplant can add a wonderful depth of flavor and tender texture that complements the crispness of raw ingredients.
- Healthy Fats: Sliced avocado or a sprinkle of olives can add healthy fats and extra creaminess.
- Flavor Boosters: A squeeze of lemon, fresh herbs like parsley or dill, or a dash of your favorite seasoning can elevate the taste profile significantly.
For more detailed ideas and to explore endless possibilities for your healthy lunches, be sure to check out our article on Easy Collard Wraps: Custom Fillings & Tortilla Alternatives for Healthy Lunches.
The Art of Rolling:
Rolling a collard wrap is similar to rolling a burrito or a spring roll. The key is to not overfill, especially when first starting out, to ensure it remains handheld and neat.
- Lay it Flat: Arrange your blanched and dried collard leaf on a plate or cutting board, stem-side facing you.
- Spread the Center: Apply your chosen spread (e.g., hummus and pesto) across the center of the leaf, leaving space on the edges.
- Layer Your Fillings: Carefully arrange your proteins and vegetables over the spread. Remember, thinly sliced or shredded ingredients tend to hold together better.
- Fold and Roll: Starting from the bottom (the stem end) of the leaf, fold it up over the fillings. Then, fold in the sides of the collard green inward, just like you would with a burrito. Continue rolling upward, snugly but not too tightly, until you reach the top of the leaf.
- Secure and Serve: Place the finished roll seam-side down on your plate to help prevent it from unraveling. For extra security, especially if packing for lunch, or if you prefer to slice them in half, a toothpick can be a great ally.
Serve your beautifully crafted collard wraps immediately for the best texture and flavor!
Smart Storage: Prep Ahead for a Week of Healthy Meals
One of the biggest advantages of preparing collard wraps is their potential for meal prepping. With a little foresight, you can have healthy, delicious meals ready to grab and go throughout your busy week.
Storing Blanched Collard Leaves:
Once you've blanched and thoroughly dried your collard leaves, you can store them in an airtight container in the refrigerator for up to 4 days. Layer them gently, perhaps with a paper towel in between if you have many, to absorb any residual moisture. This prep-ahead step is incredibly convenient, allowing you to assemble fresh wraps in minutes whenever hunger strikes.
Storing Assembled Collard Wraps:
While freshly made wraps are always best, you can prepare collard wraps up to 24 hours in advance if stored properly. The secret is to use thicker spreads (like hummus or cream cheese) rather than watery dressings, which can make the vegetables soggy over time. Store assembled wraps in an airtight container, seam-side down, in the refrigerator. Using a toothpick to hold them together is highly recommended, especially if you're packing them for a lunchbox, as collard leaves can be prone to unrolling themselves.
Making collard wraps a part of your routine is a fantastic way to embrace healthy eating without sacrificing flavor or convenience. For more comprehensive guidance on creating these nourishing meals, check out our in-depth article: How to Make Easy Collard Wraps: Healthy, Low-Carb & Gluten-Free.
Conclusion
Embracing collard wraps as a healthy, low-carb, and gluten-free alternative to traditional tortillas is a fantastic step towards more wholesome eating. By understanding the simple yet transformative process of blanching, you can turn these humble leaves into pliable, tender vessels ready to embrace any filling, particularly those vibrant ingredients that make up easy Mediterranean collard wraps. With the added benefit of smart storage techniques, you can easily prep ahead, ensuring that delicious, nutritious meals are always within reach. So grab a bunch of collard greens, experiment with your favorite flavors, and make these versatile wraps a delightful and healthy staple in your kitchen!
